

Alexa Skills with Python: Alexa Presentation Language (APL)
Develop Alexa Skills with Python Part 3: Alexa Presentation Language (APL)

Hello friend!
Although Alexa is mainly known for providing voice interactions, wouldn’t it be better if we could make the voice experience even more engaging by introducing the visual dimension?
In this tutorial, I’m going to walk you through the Alexa Presentation Language (APL), Alexa’s way of saying front-end development. But before we start, I want to emphasize that this post is the third one in a series of (at least) 5 tutorials where I share with you everything you should know to turn any idea you have in mind into an Alexa Skill. In fact, in the first post, I explained the general concept behind Alexa skills, then we actually developed a Rock Paper Scissors (RPS) skill in the last post.
TL;DR, just remember that developing a skill comes down to two things:
- Helping the Alexa service to detect the intention of the user;
- Figuring out what to do after knowing this intention (backend logic).
⚠️ Note that for better presentation and visibility, the code snippets provided below are in the form of screenshots. However, the same codes are available in my GitHub profile [here], if you want to copy/paste something.
Now let’s get back to work!
Enable the APL
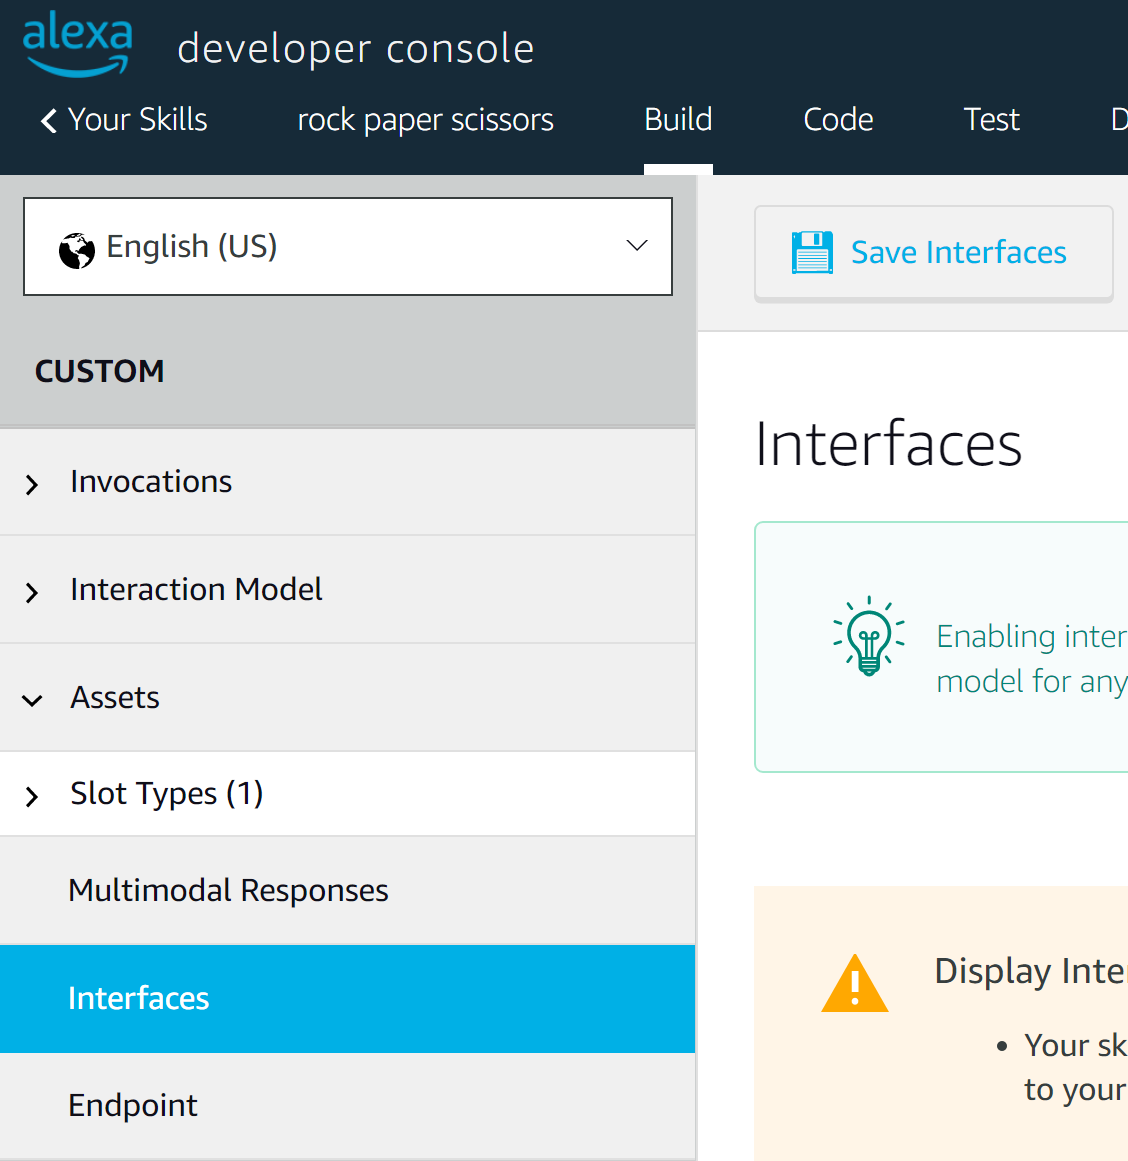
What we have so far from our last post is a voice-only RPS skill. To add the visual aspects to it, let’s start by going to the Build section, then in the left-hand menu, select Interfaces. Next, scroll down and enable Alexa Presentation Language, and click Save Interfaces.
Alexa’s built-in visuals
Now let’s practice a little bit. Always in the Build section, click on the Multimodal Responses, Visual, then Create Visual Response.
You can choose whatever template you want just to familiarize yourself with the syntax. Basically, it’s front-end development, it’s like you’re coding CSS.
Let’s pick the “Headline” template.
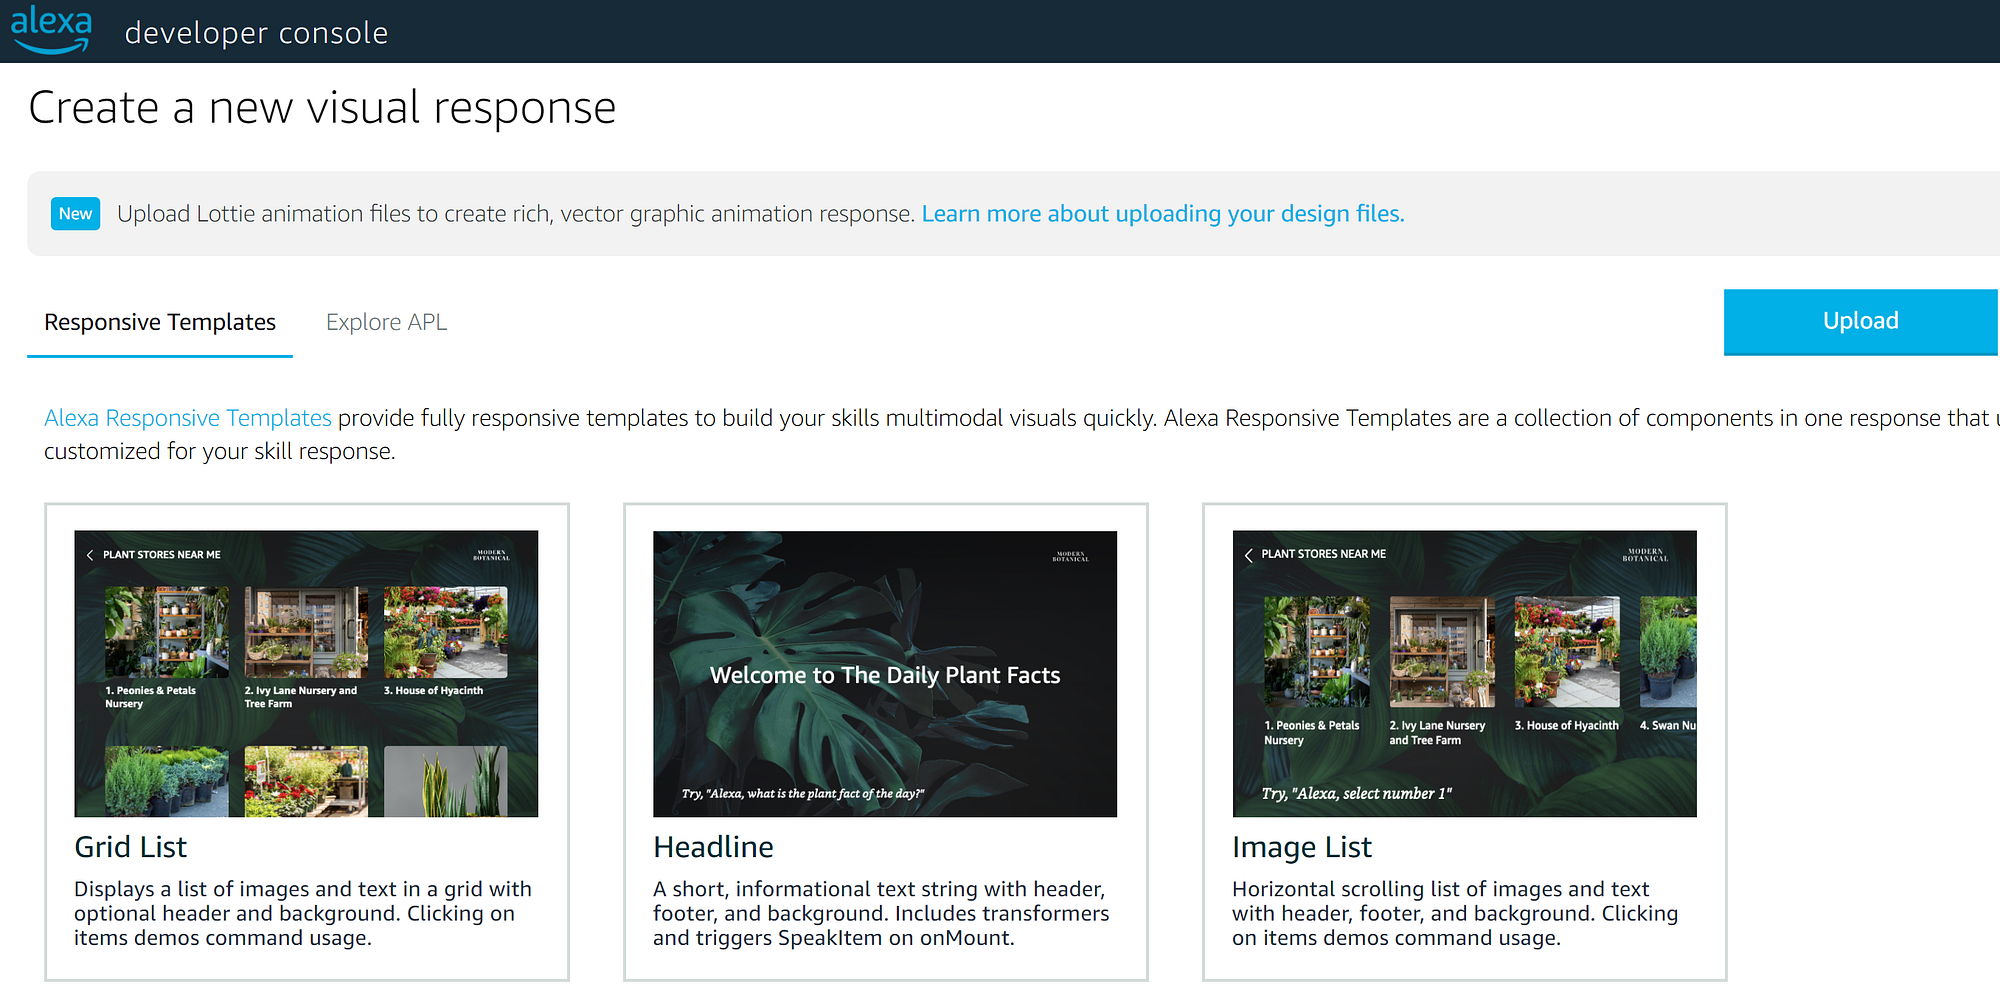
On the left-hand menu, select APL to have a look at the code.
Enough playing for today! Let’s get back to some serious stuff. 😅
APL Configuration
Now just copy that APL code, then:
- Back to the skill’s Code section.
- Create a folder named “apl”, then within it a file named “default.json”.
- Paste the code you copied there.
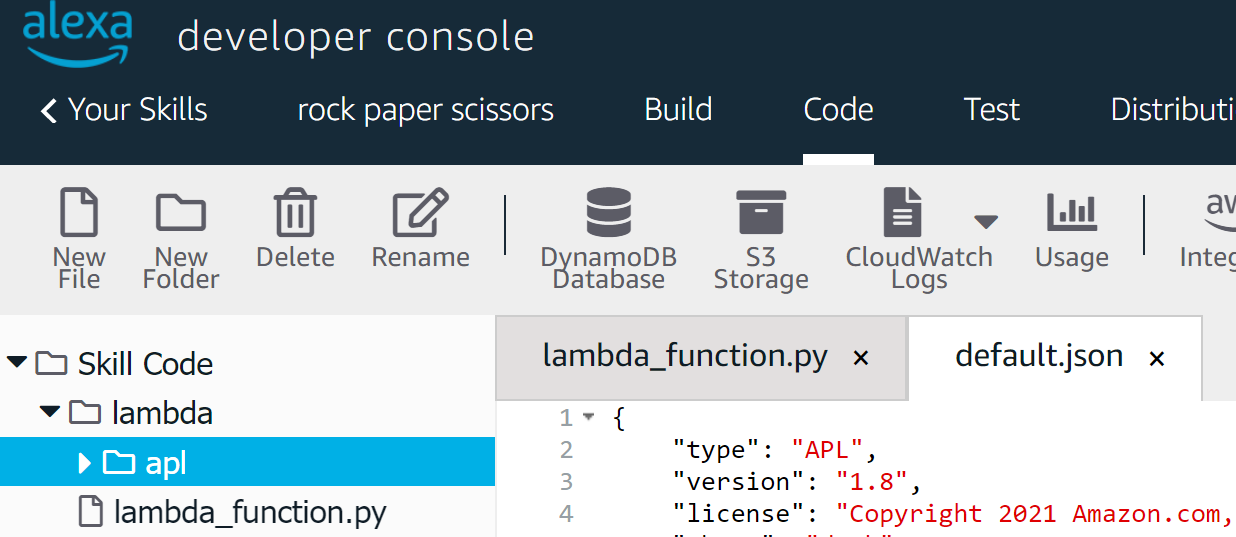
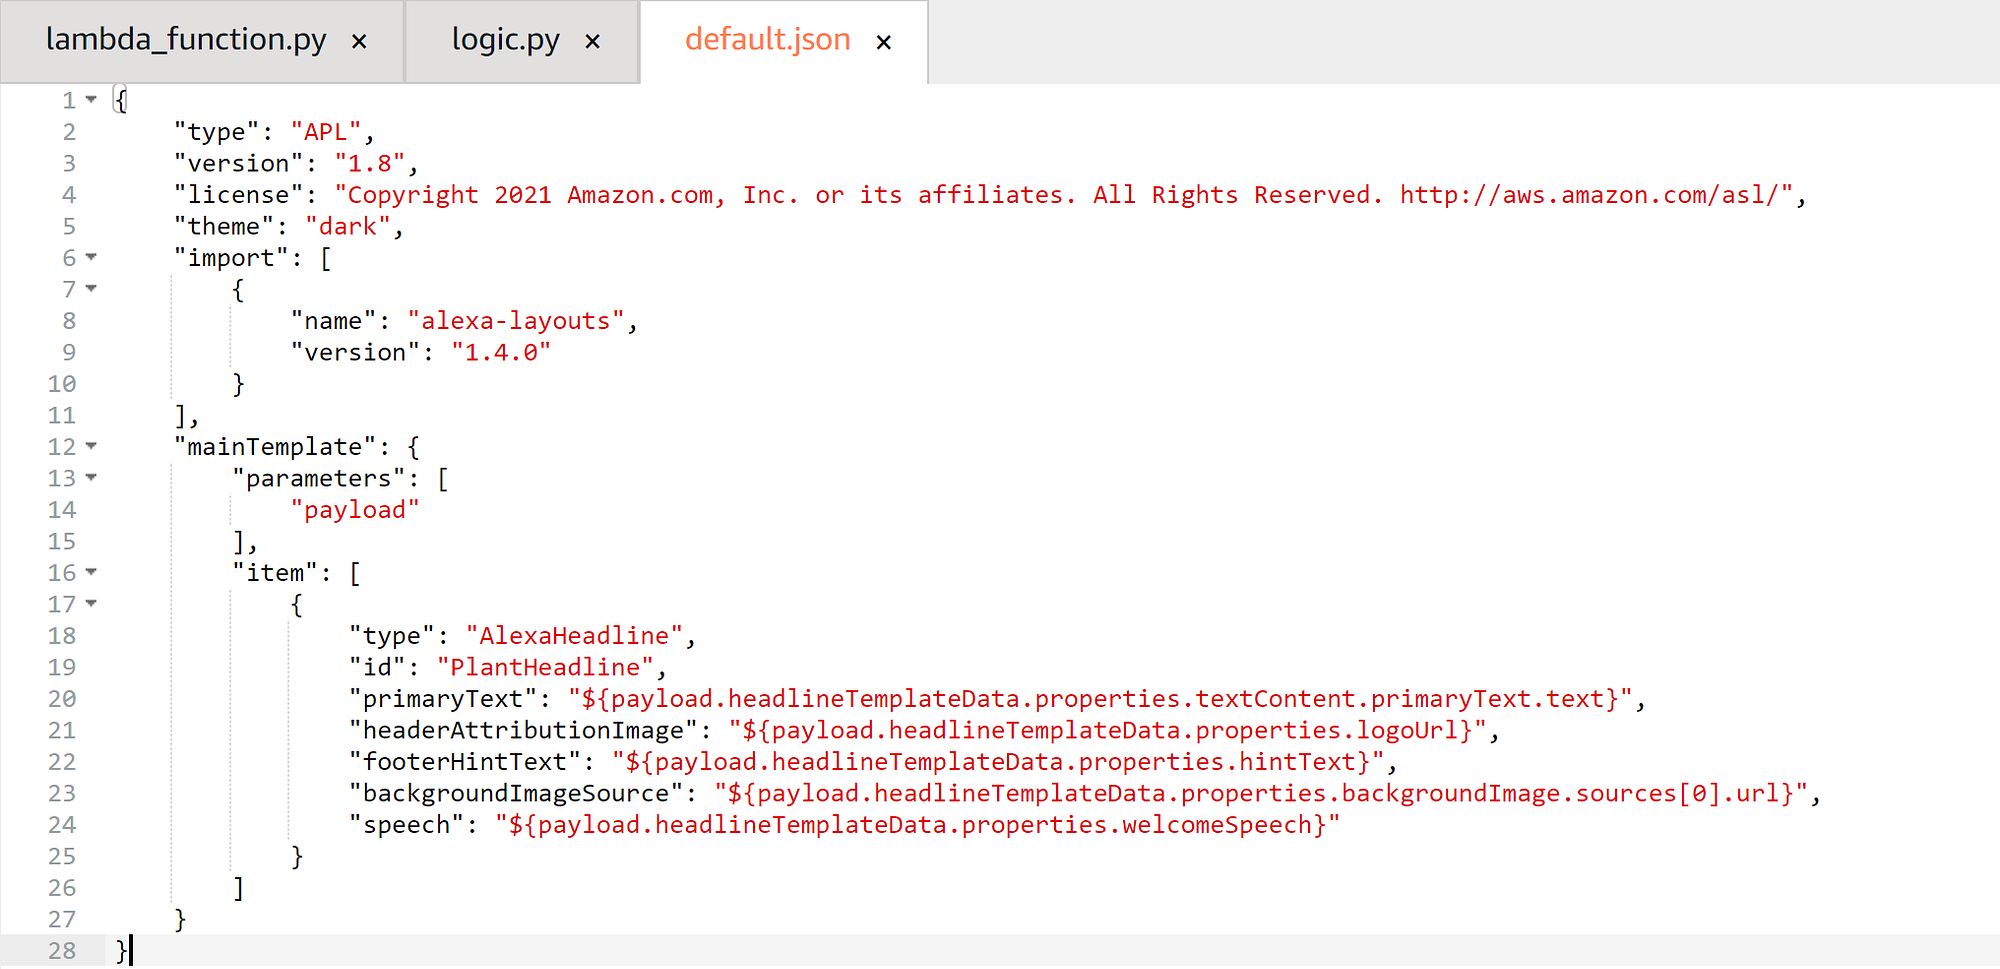
Basically, what this template gave us, is the skeleton of our display interface. If you look carefully you’ll notice that you have placeholders for logo, background image, texts, and more. However, we need to be able to change these images & texts according to where we are in the game, right?
Let’s create a new file called apl_content.py and paste the code below:
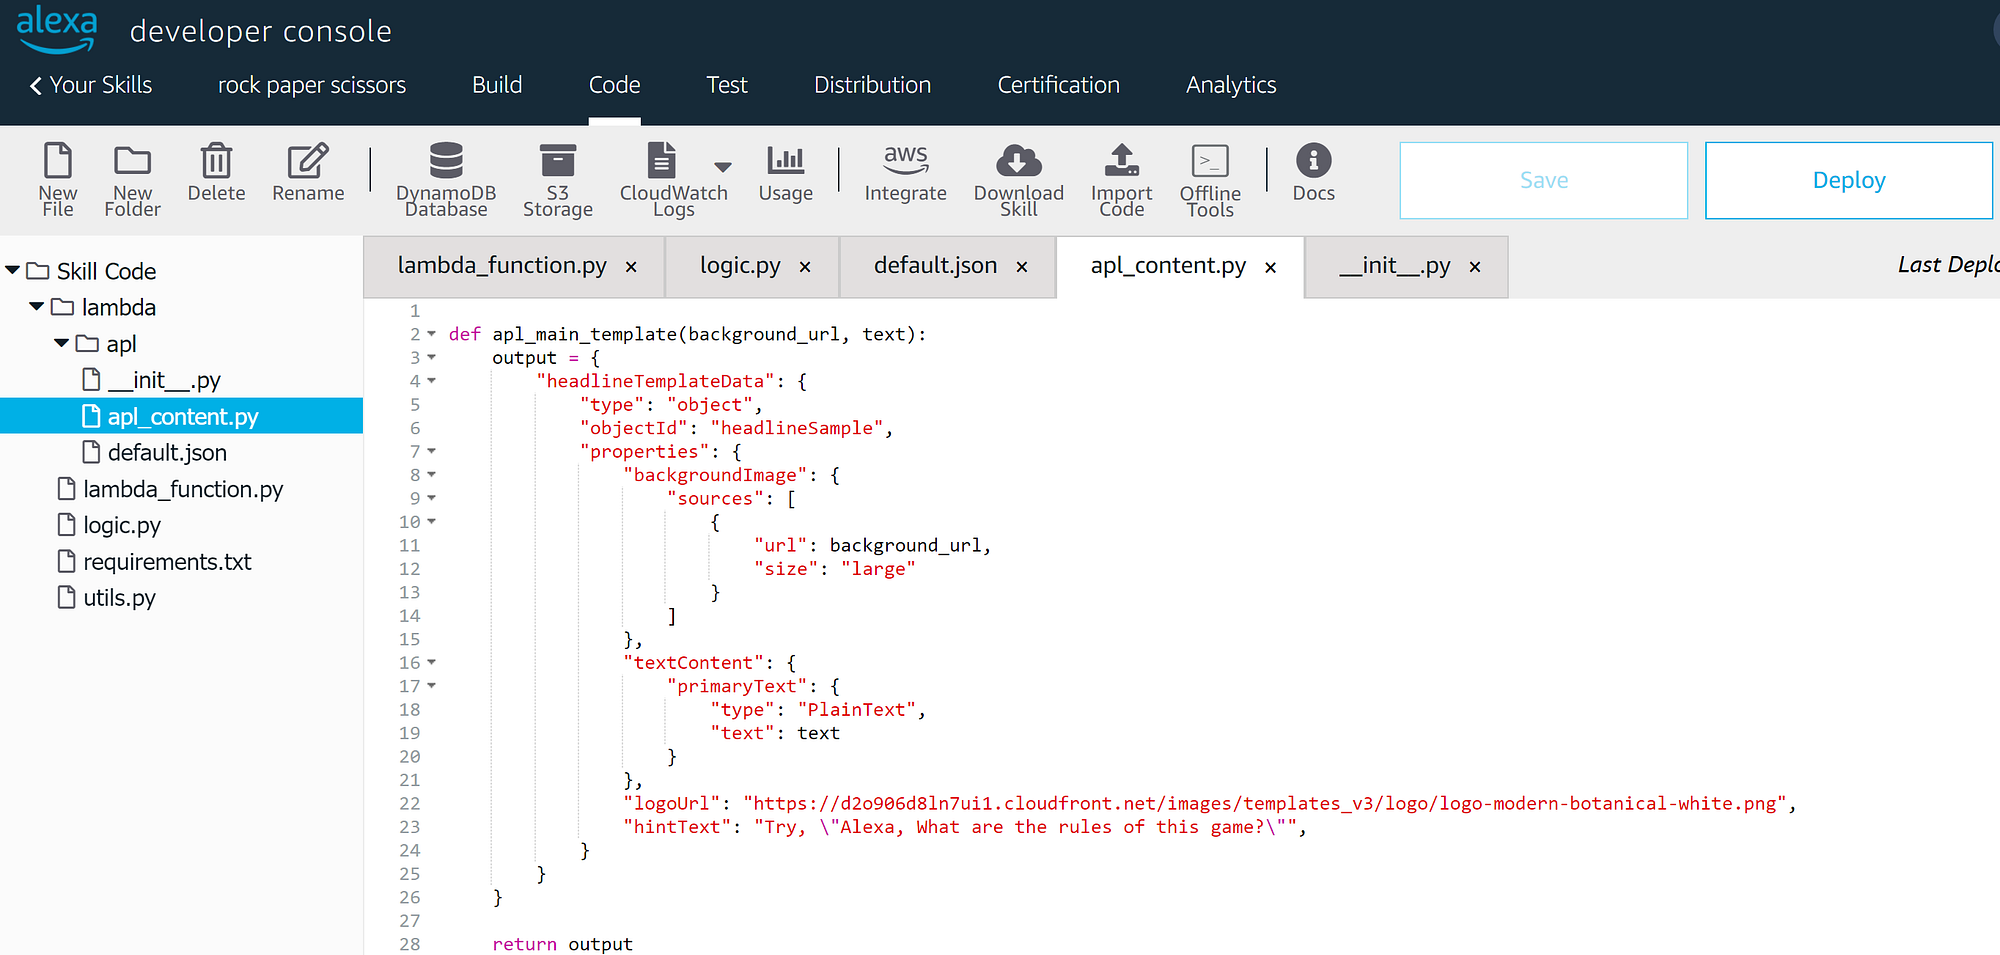
⚠️ init.py is the Pythonic way to make the apl folder act as a module.
In this apl_content file, we created a function that takes a background URL and a text as arguments, then generates the APL code accordingly. In fact, this function will provide the content for the default.json skeleton.
Now let’s go back to the lambda_function.
- Import some dependencies (json, get_supported_interfaces, apl_main_template).
- Create a simple function to load the APL JSON documents.
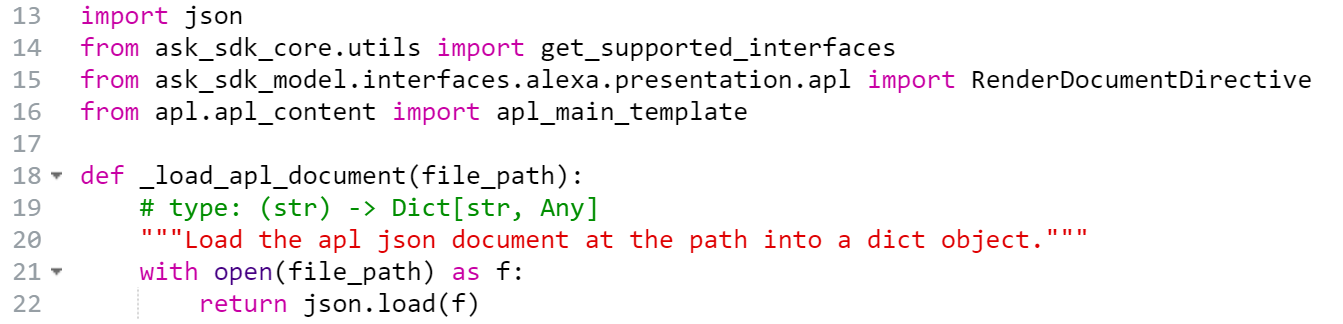
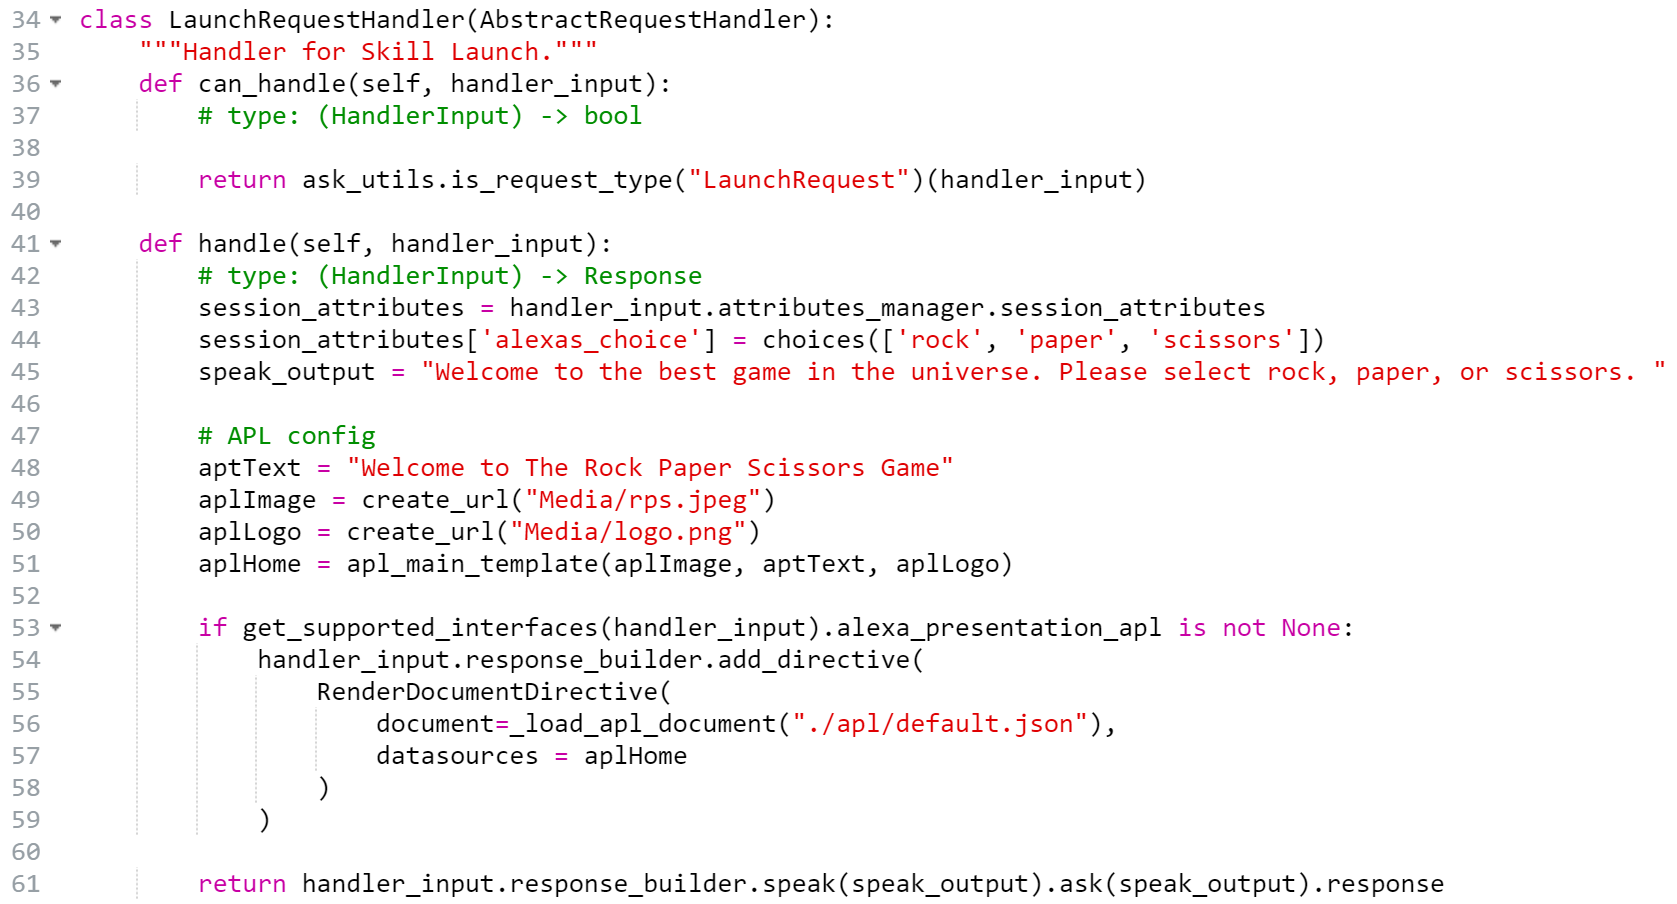
Enough configuration. Now we are about to create the first visual for our skill. More specifically, a visual for our LaunchRequestHandler. This means we will create the visuals that we’ll be seeing when we first invoke our skill.

As shown in the code snippet below, what you need to do now is to:
- Create two variables containing the image URL and text to be displayed.
- Call the apl_main_template function to create the APL content.
- Check if the client’s device supports APL (have a screen). If so, use the add_directive method to load the skeleton and content of our interface.
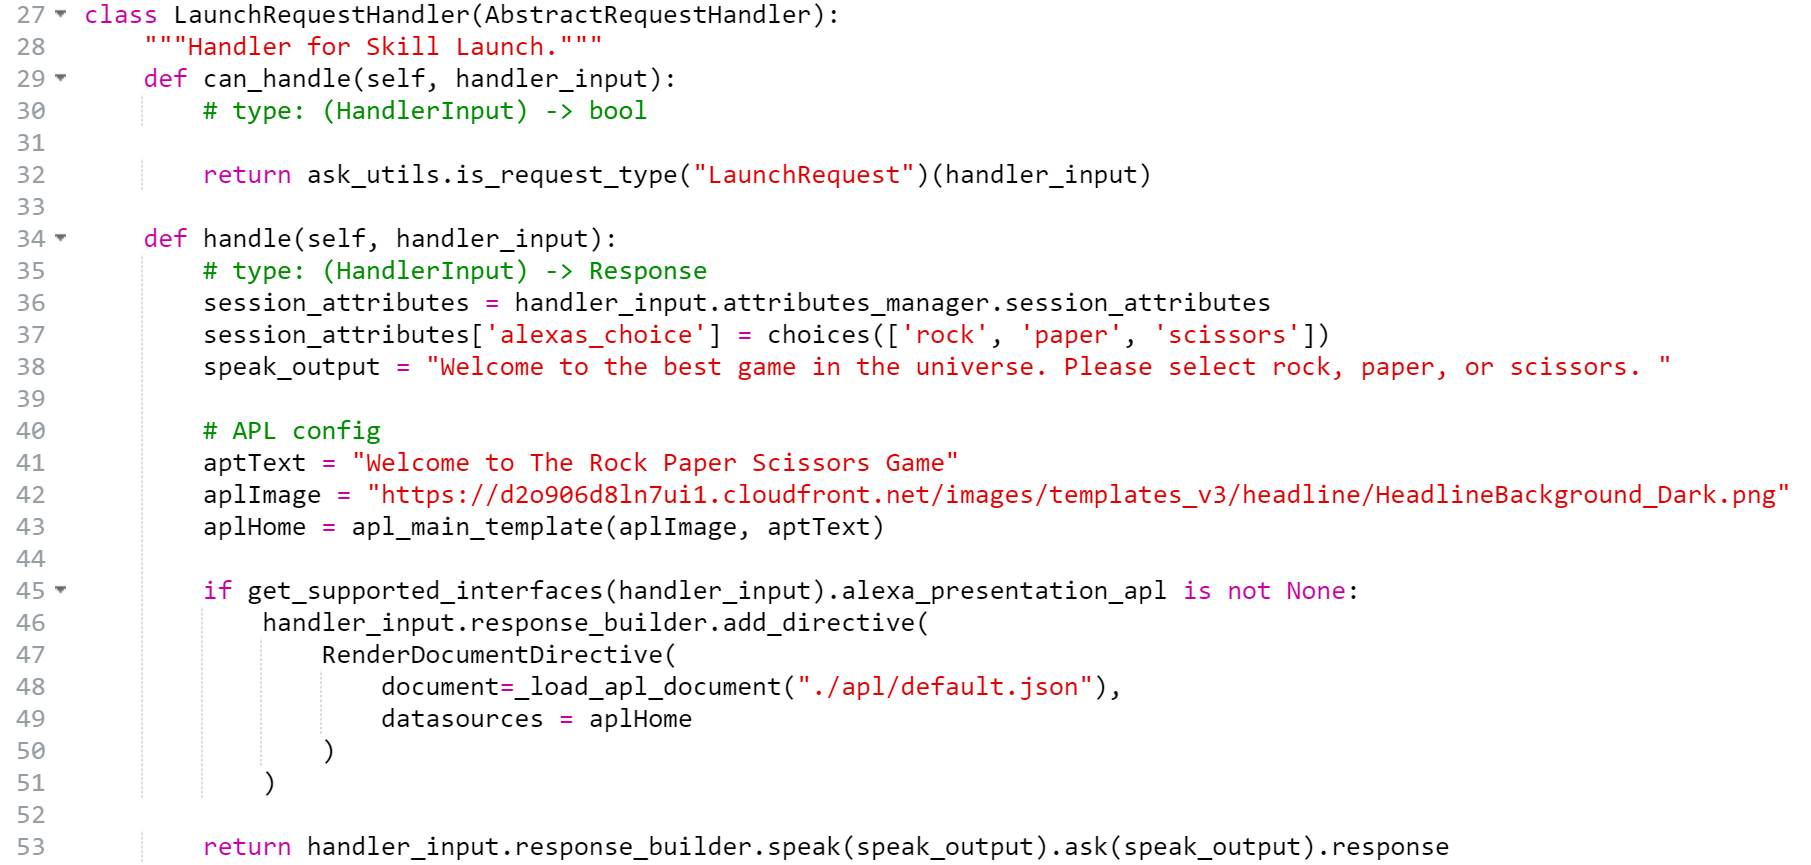
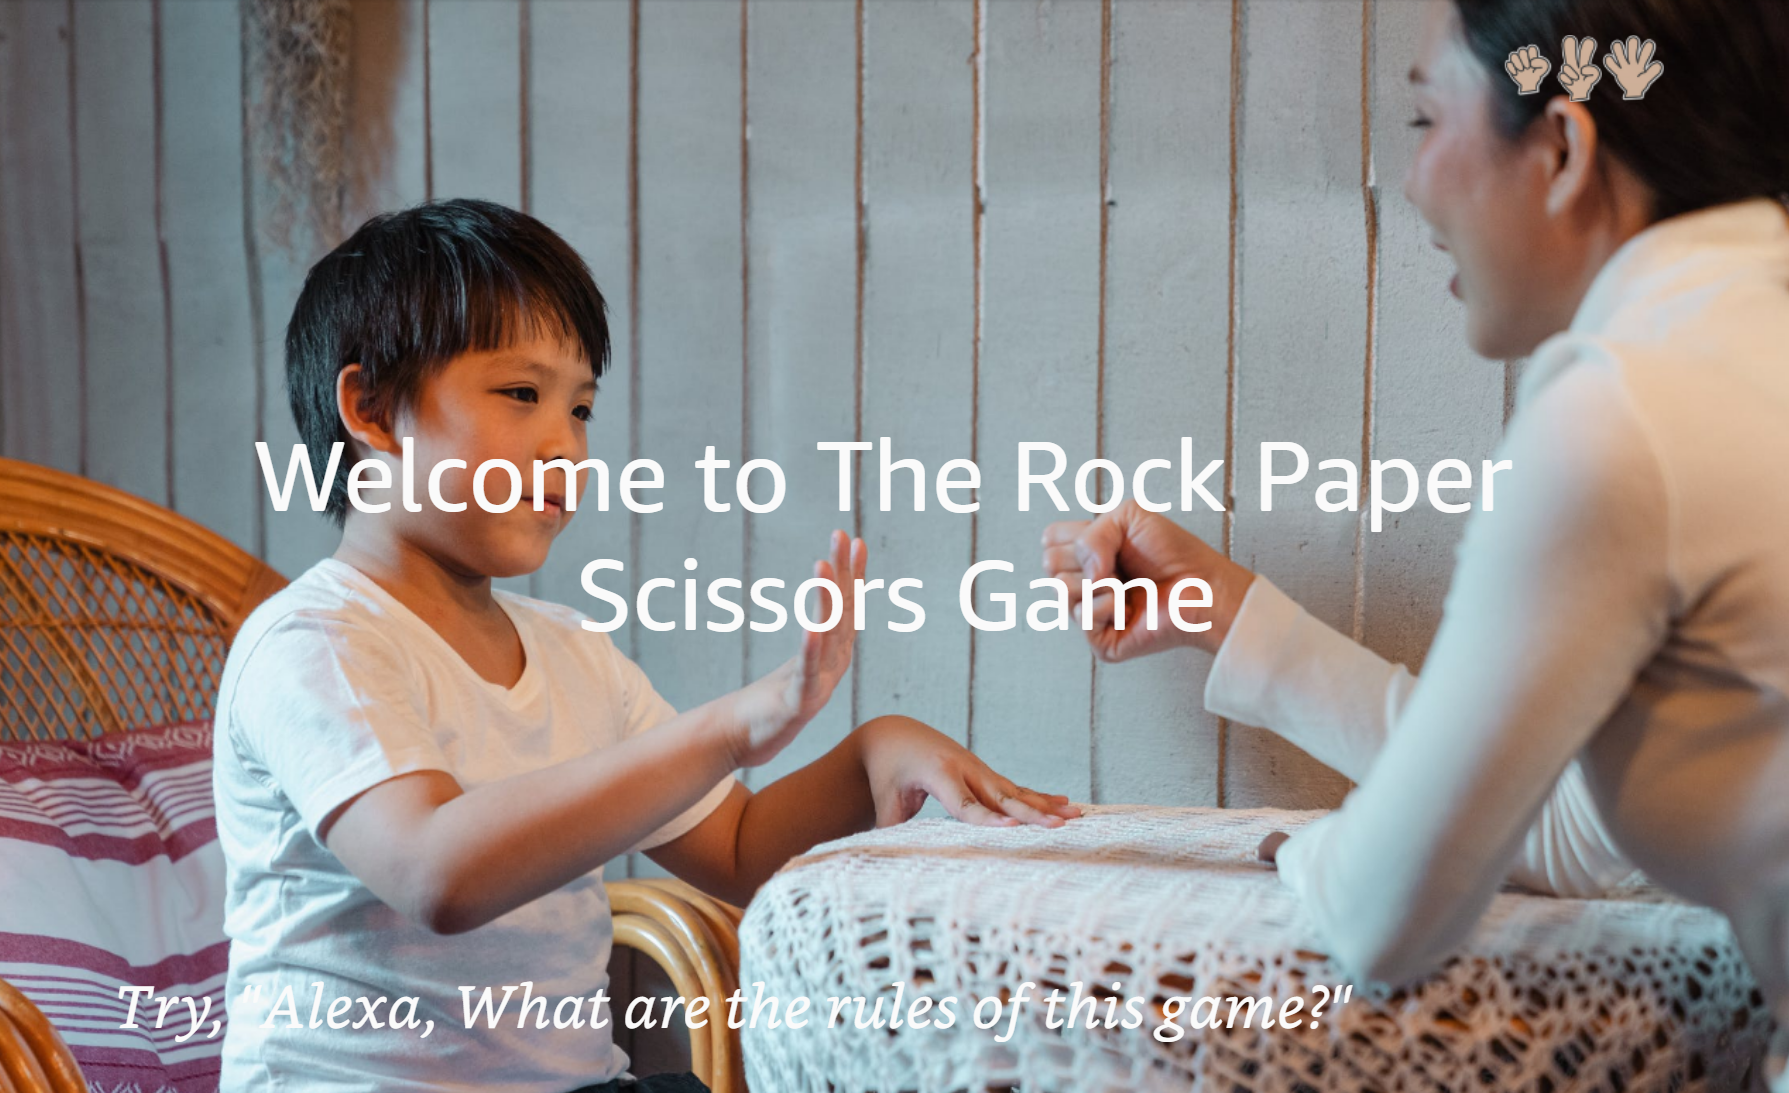
Fantastic! You can go to the test section and start a conversation with your skill. Scroll down and you’ll see an APL interface showing the background image and text while Alexa is announcing the welcome message.

Amazon S3 Storage
On top of that, and as an act of kindness, I won’t leave you without providing you a place where you can host your Alexa images (for free 😉). Therefore, let me introduce to you: the S3 buckets.
Under the Code section, select S3 Storage from the top menu:

The rest is pretty straightforward: Click on Upload, then add files, select your image(s), click upload, then close after the your image(s) is (are) successfully uploaded.
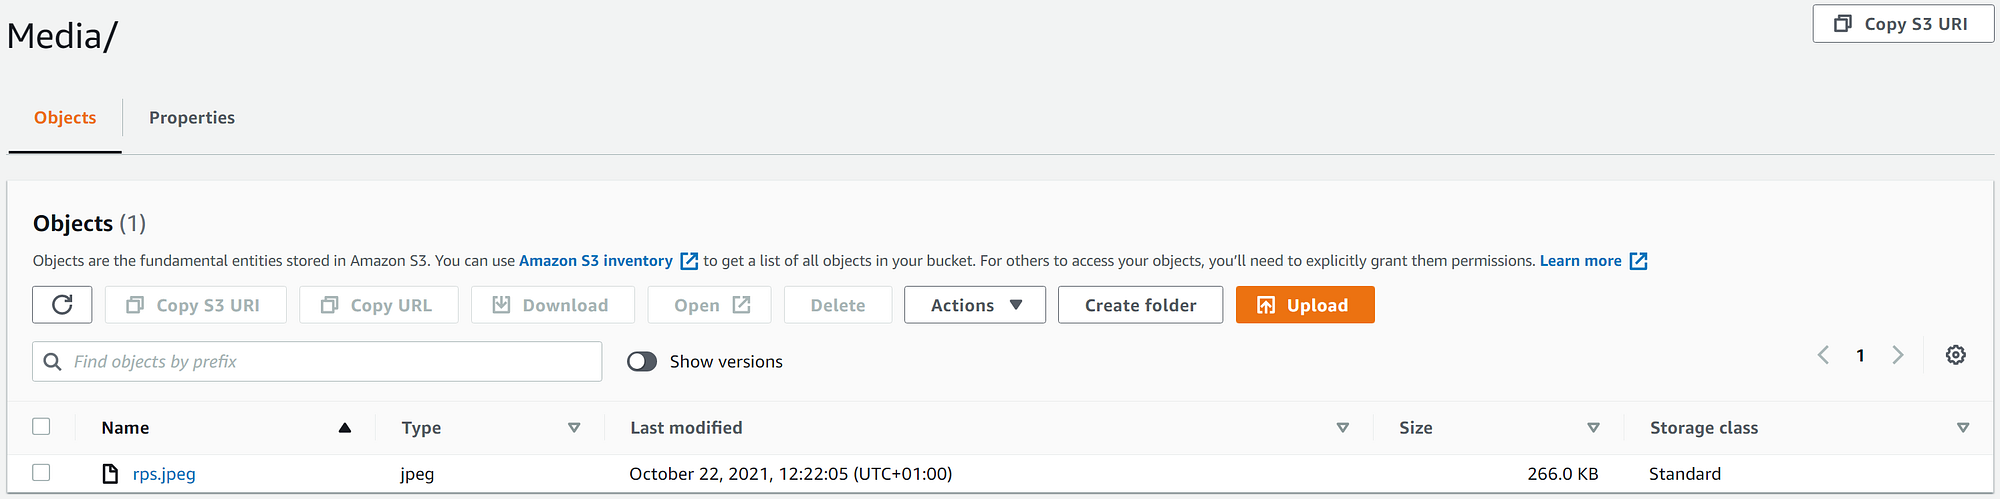
Back to the Lambda function in your code. Import the modules below, and add the following helper function:

I made some adjustments to the apl_main_template function to support a logo in addition to the background image and text. In fact, don’t forget that all the codes I’m using here are available in my Github profile.
And here is how it looks...
Responsiveness
As you might already know, Alexa devices come in different forms. You can find small, and large ones, landscape, and portrait, even round-shaped Alexa devices. So yeah, there is extra work to do if you want your skill to support all these forms. Let’s find out how to adapt our APL and make it responsive.
- First of all, let’s create another file named responsive.json in the apl folder.
Basically, we will handle each screen in a separate viewport. The following code shows how we handle the hubRoundSmall Alexa devices:
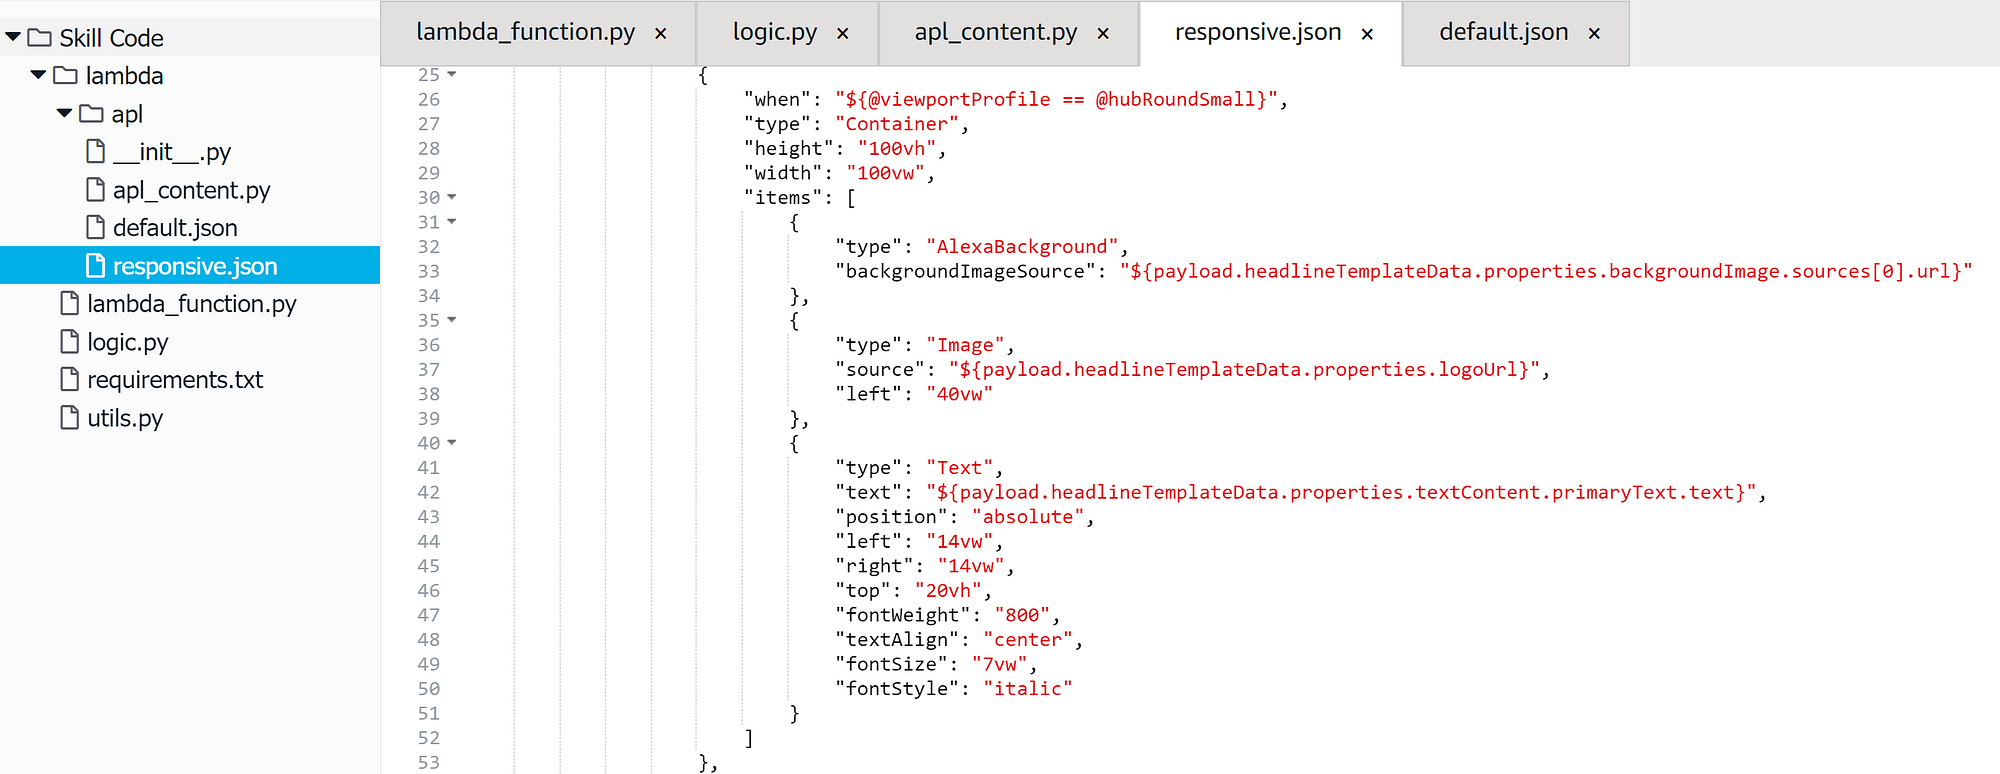
Just leave the rest as it was from the last configuration. Again, the whole code is available here.
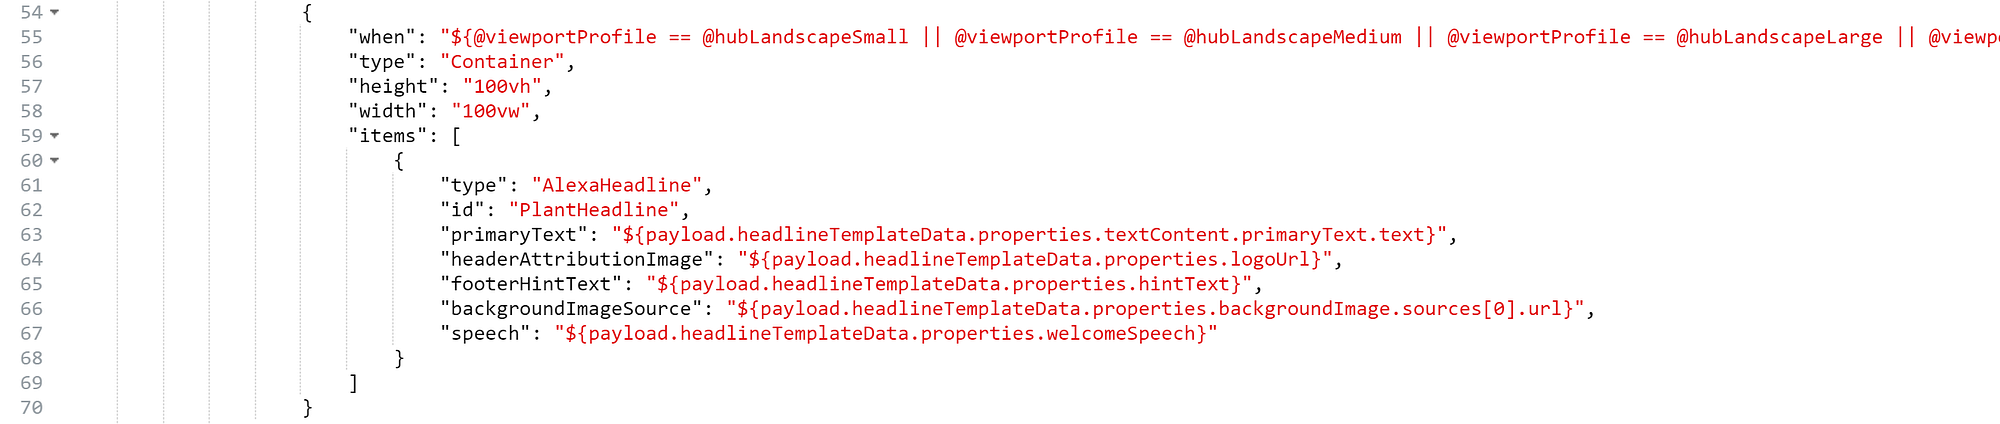
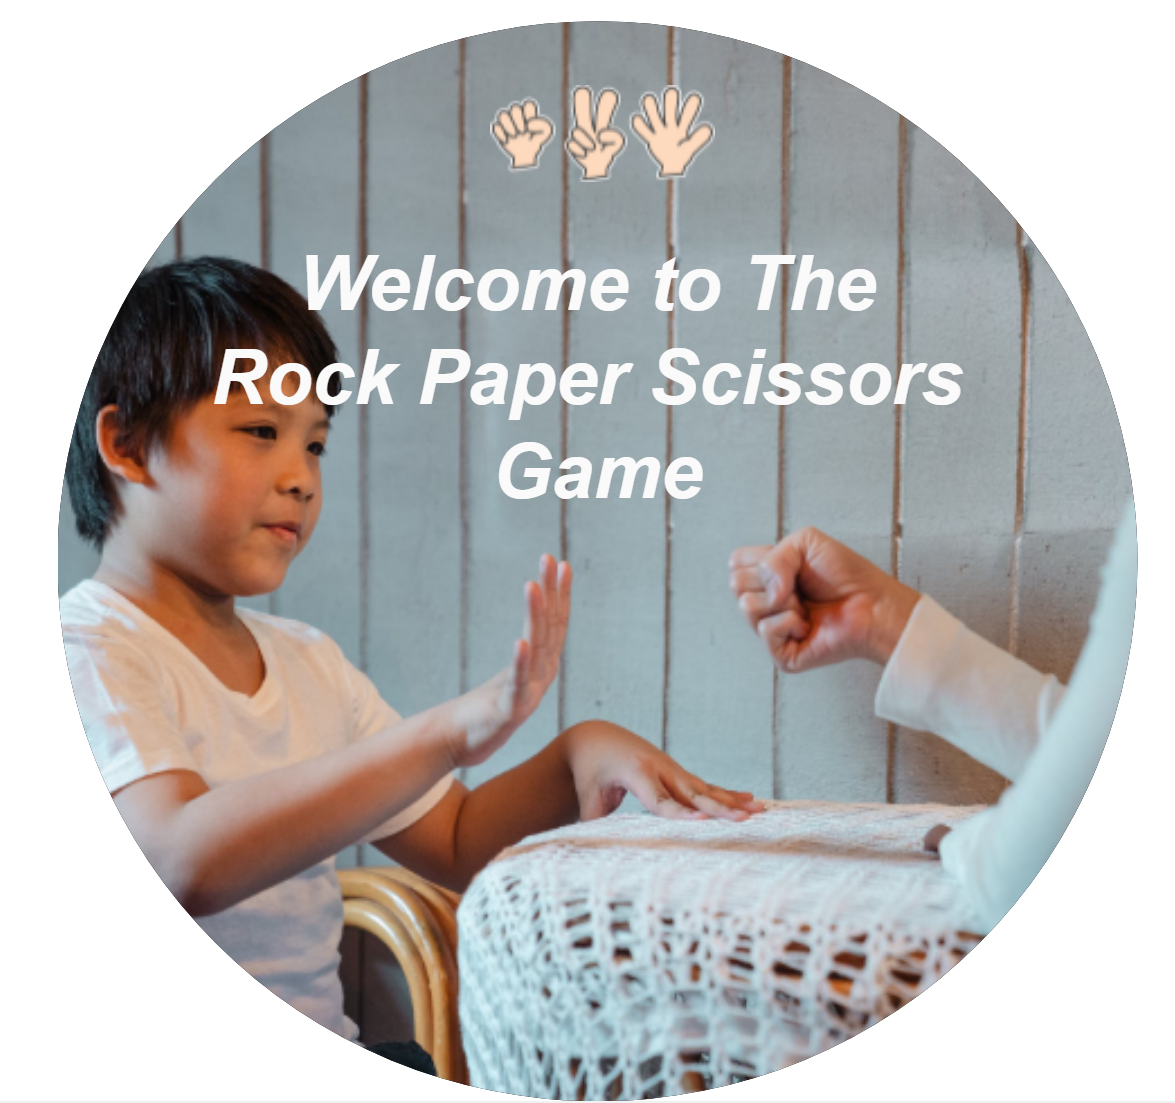
Now, when testing the skill, just make sure you change the device type to Hub Round Small, then start the conversation. The result should be something like this:
One extra step
If you check the code I shared on Github, you’ll see that I changed the structure a little bit either to make the code cleaner, or to properly present the RPS game in its final version. Basically, I just:
- Moved APL functions and imports from lambda to the apl_content.py file.
- Moved utils to the apl folder.
- Disabled shouldEndSession, and added “play again…” to answerIntentHandler, to continue playing.
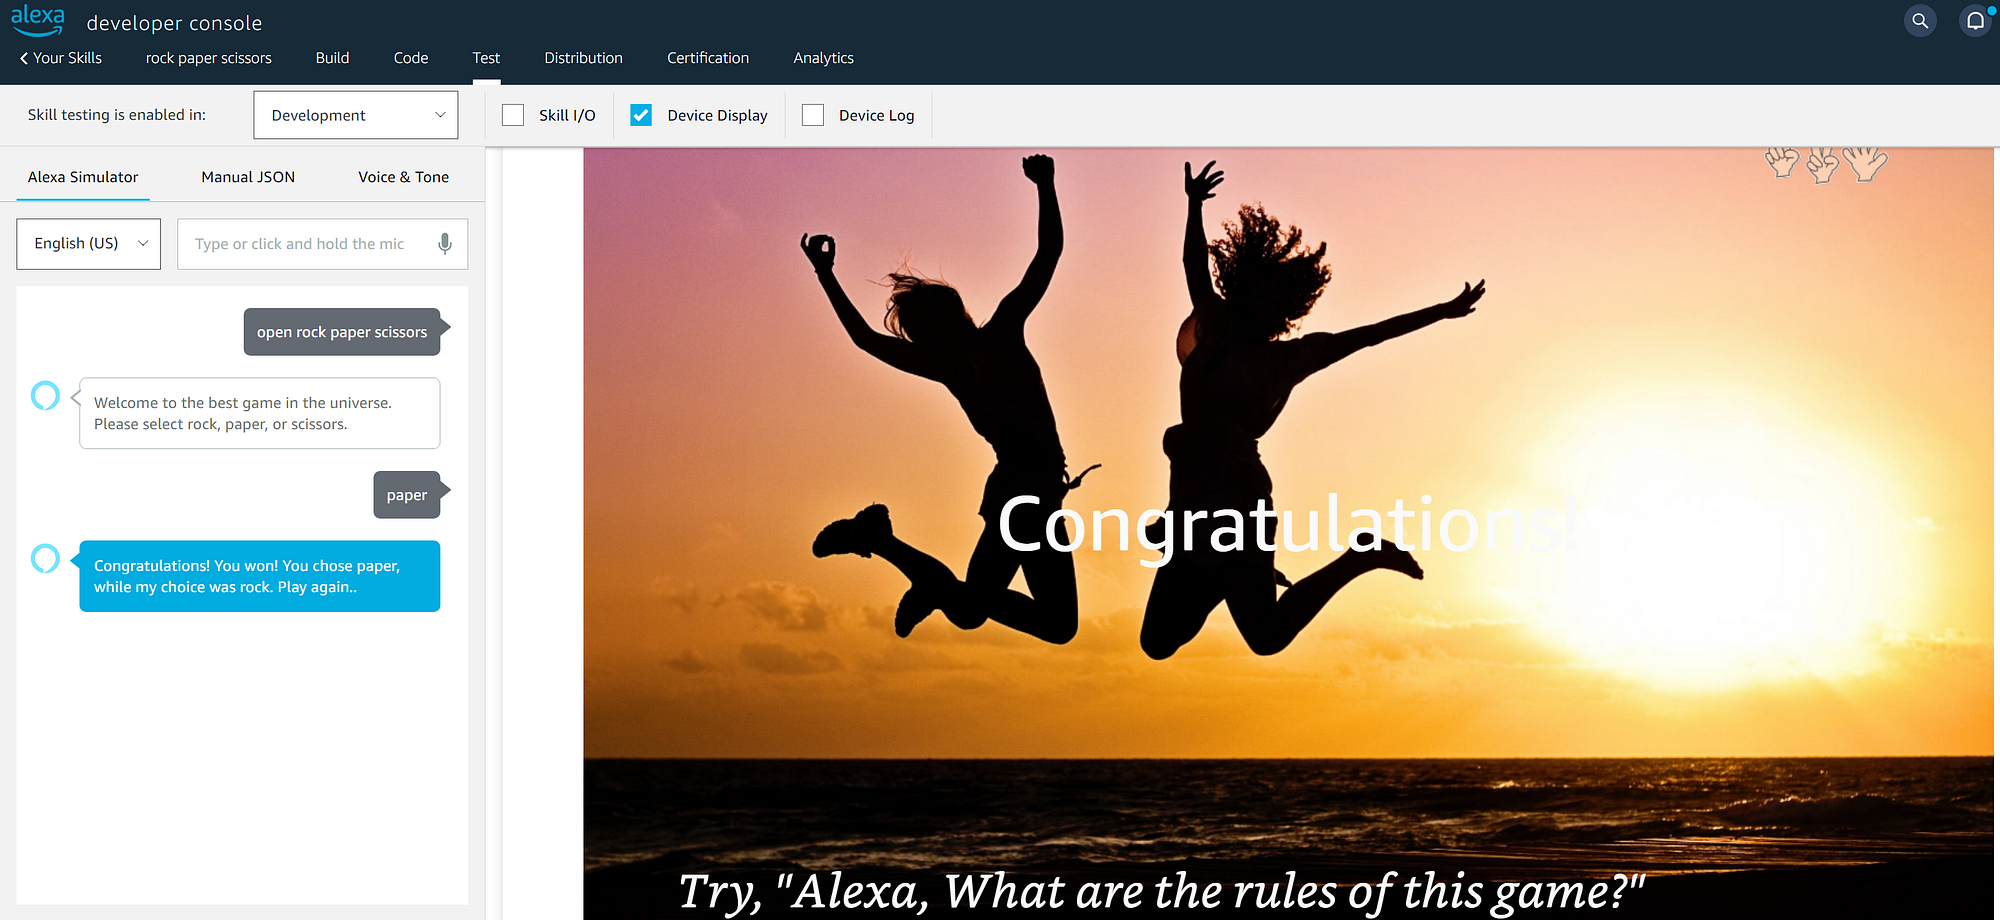
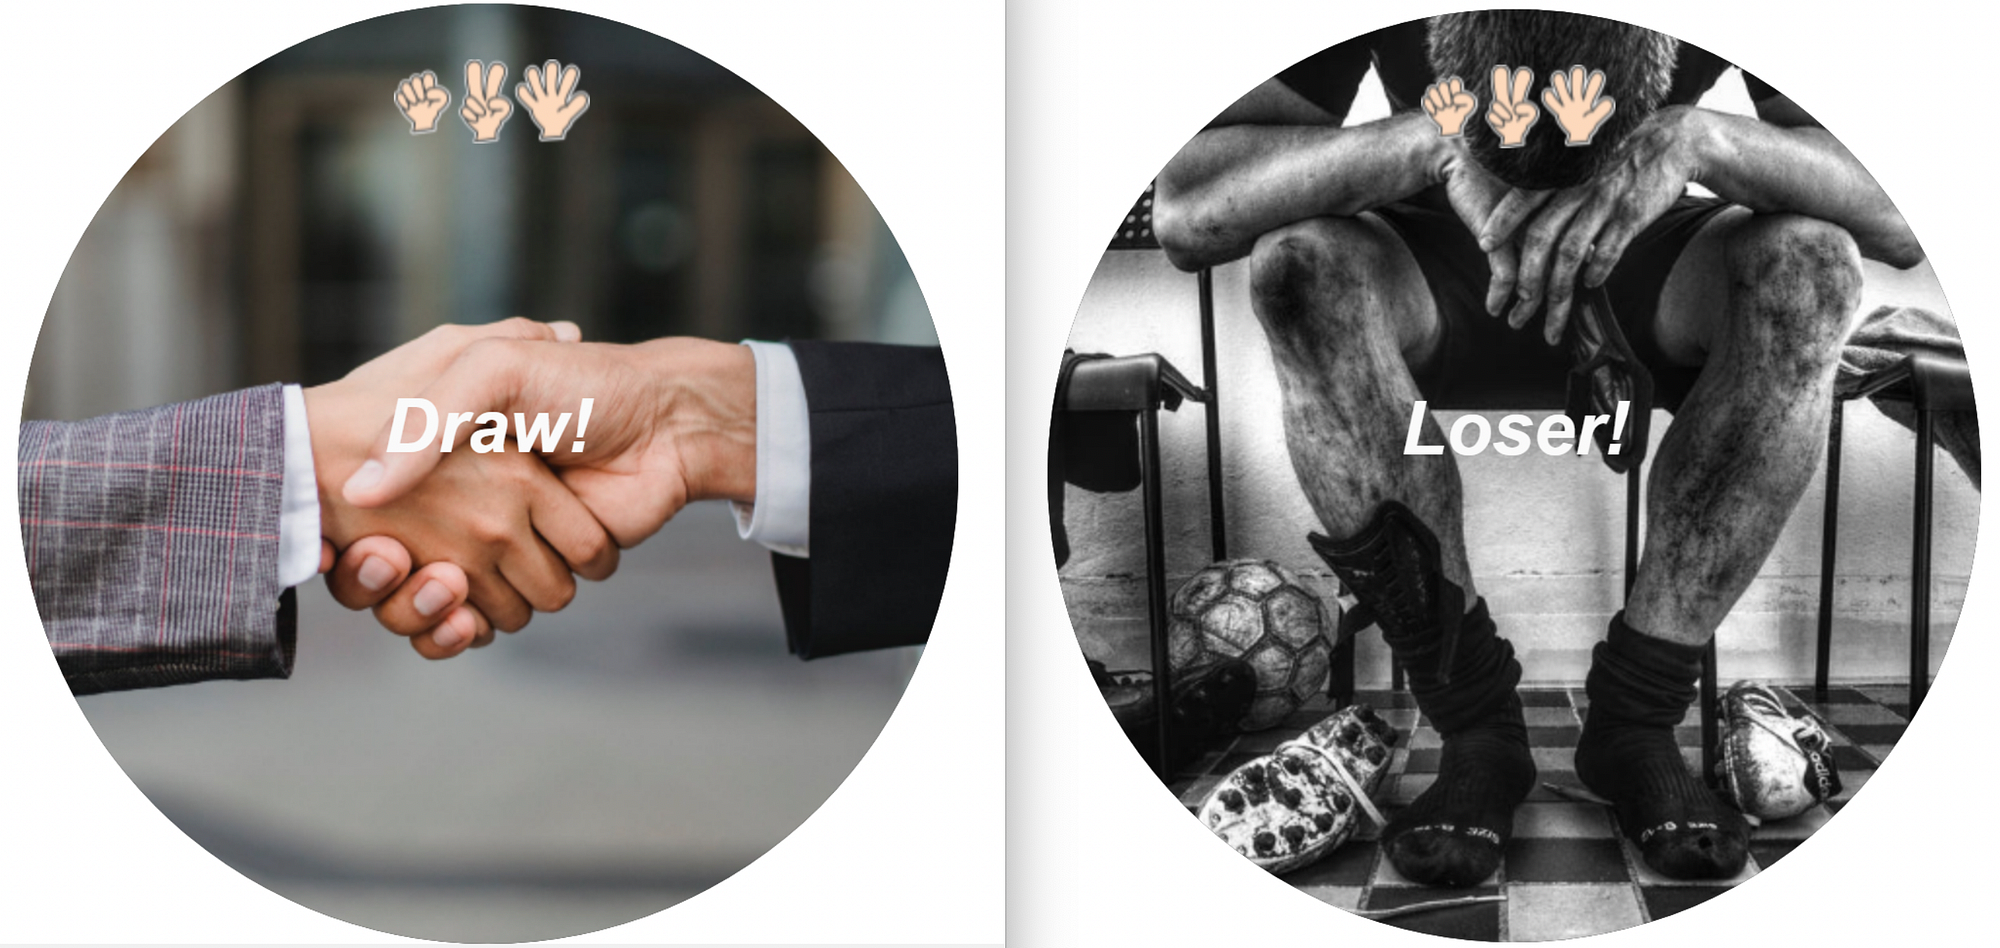
- Repeated the process for other intents (uploaded loser, winner and draw images to S3, introduced get_apl_content function, added APL to answerIntentHandler, as well as the answer.json template).
I think this APL tutorial was a bit longer than the others, so yeah, you can take a break, you’ve earned it. 😎
See you in the next tutorial where we will discover how to implement a multi-language skill, that is to have your skill speak different languages depending on where users are. Until then!

More content at plainenglish.io. Sign up for our free weekly newsletter. Get exclusive access to writing opportunities and advice in our community Discord.
Alexa Skills with Python : The visual dimension